All the Tools You Need to Start Composting at Home
If you are planning to get started with composting, you should know what you need. It does not require many tools, but some of them are necessary.
I am a lazy composter. I don't really check the temperature of the compost, and I do not pay close attention to how moist it is. The length of time it takes to make compost is irrelevant to me. My attitude is just acceptance of whatever comes my way when it is ready. It would be nice if there was a place for me to drop off food waste and not have it end up in a landfill instead of managing it myself but for now, we will continue managing it at home.
I have included some links of where you can purchase the items mentioned, but please consider buying secondhand or borrowing from your community where possible.
Here are the tools I am currently using to compost at home, and what you need to get started:
Some Space
Compost bin(s)
A tumbler
A pitchfork
Spray nozzle for watering
Rain water
Compost Accelerator
Patience
Some space. Maybe a sunny space
I think this is a very important thing to consider when you are first getting started. You must have space for a compost bin or a tumbler (in our case, both). We have a big yard, and we decided to test out both the tumbler and the compost bin. I would recommend positioning your bin or tumbler in a place that can receive some sun to help naturally encourage heat production and speed up decomposition.
Compost bins
The composting starts in the kitchen. I have two small canisters that used to be containers for dog treats. They have a lid and can hold liquid.
If you are interested in getting started with one in your kitchen, I have one listed in my little shop here that comes with some charcoal filters to help mediate odor.
I divide the containers by what can be safely composted at home, and what cannot. If you aren’t sure how to determine this I have added a list to cover the basics below.
Waste that can be composted:
fruits
vegetables
clean eggshells
leaves & grass clippings
coffee grinds & paper filters
teabags
cut flowers & houseplants
sawdust
human & pet hair
dirt
newspaper without coloured ink
paper bags & napkins
Waste that can not be composted:
bread
all seafood
oil & fats
cheese & butter (safe to leave out dairy)
potato skins/peels
meat & bones
weeds
‘compostable’ containers, dishware, and utensils
take out containers
leftovers containing meat or dairy (vegan is ok)
cardboard
pet waste
For our large outdoor compost bin, we definitely didn't pay too much attention to it. The food is slowly decomposing and we aren’t in a rush. I know some individuals like to keep to a schedule as they use the contents for specific gardening needs but as I mentioned before, we really are just taking our time with the process. We continue to add foods and greens to it whenever we want, and from time to time, we water it.
Pro tip: In the summer, keep the containers in the freezer, so it doesn't attract fruit flies or smell bad
A Tumbler
We likely need to give the tumbler a little more attention... though our 'lazy composting' mentality sort of worked out last year. We chopped the contents of the kitchen bin into smaller pieces first before adding them to the tumbler due to the small space. I have heard of putting them in a blender or dehydrating them as well but our system worked ok. Throughout the seasons, every time we were out doing yard work, we made a point to checking in and water it. We did our best to keep it moist and turned it from time to time, but we weren't too concerned about it. The following year, we received some excellent compost that we used in our garden so we must have been doing something right!
Check out this youtube video I made showing the results of our lazy tumbling — such beautiful nutrient-dense soil!
Pitchfork

The pitchfork comes in handy for our yearly compost stir. It’s long enough to reach through the entire large outdoor bin, and the wide prongs make it easy to twist around the soil. The one pictured is made out of carbon fiber so it would be easy to lift and maneuver through the earth.
Alternatively, you could get a bit creative and make due with a thick branch, piece of pipe, hoe, or other gardening tools you have already. Just be sure you have one on hand for when the time comes to mix the soil.
Spray nozzle
To keep our compost moist, we use a spray nozzle to distribute the water equally. You can put a finger over the end of your hose to mimic the same effect, however, the nozzle is nice for extra water control when you are working with the hose. It keeps you from wasting water while trying to set things up, and you can adjust the pressure to suit the needs of the soil. In the beginning, you may need stronger pressure to penetrate through the compost but as it breaks down and is aerated with the pitchfork, you can lessen the pressure and in turn, your water use.
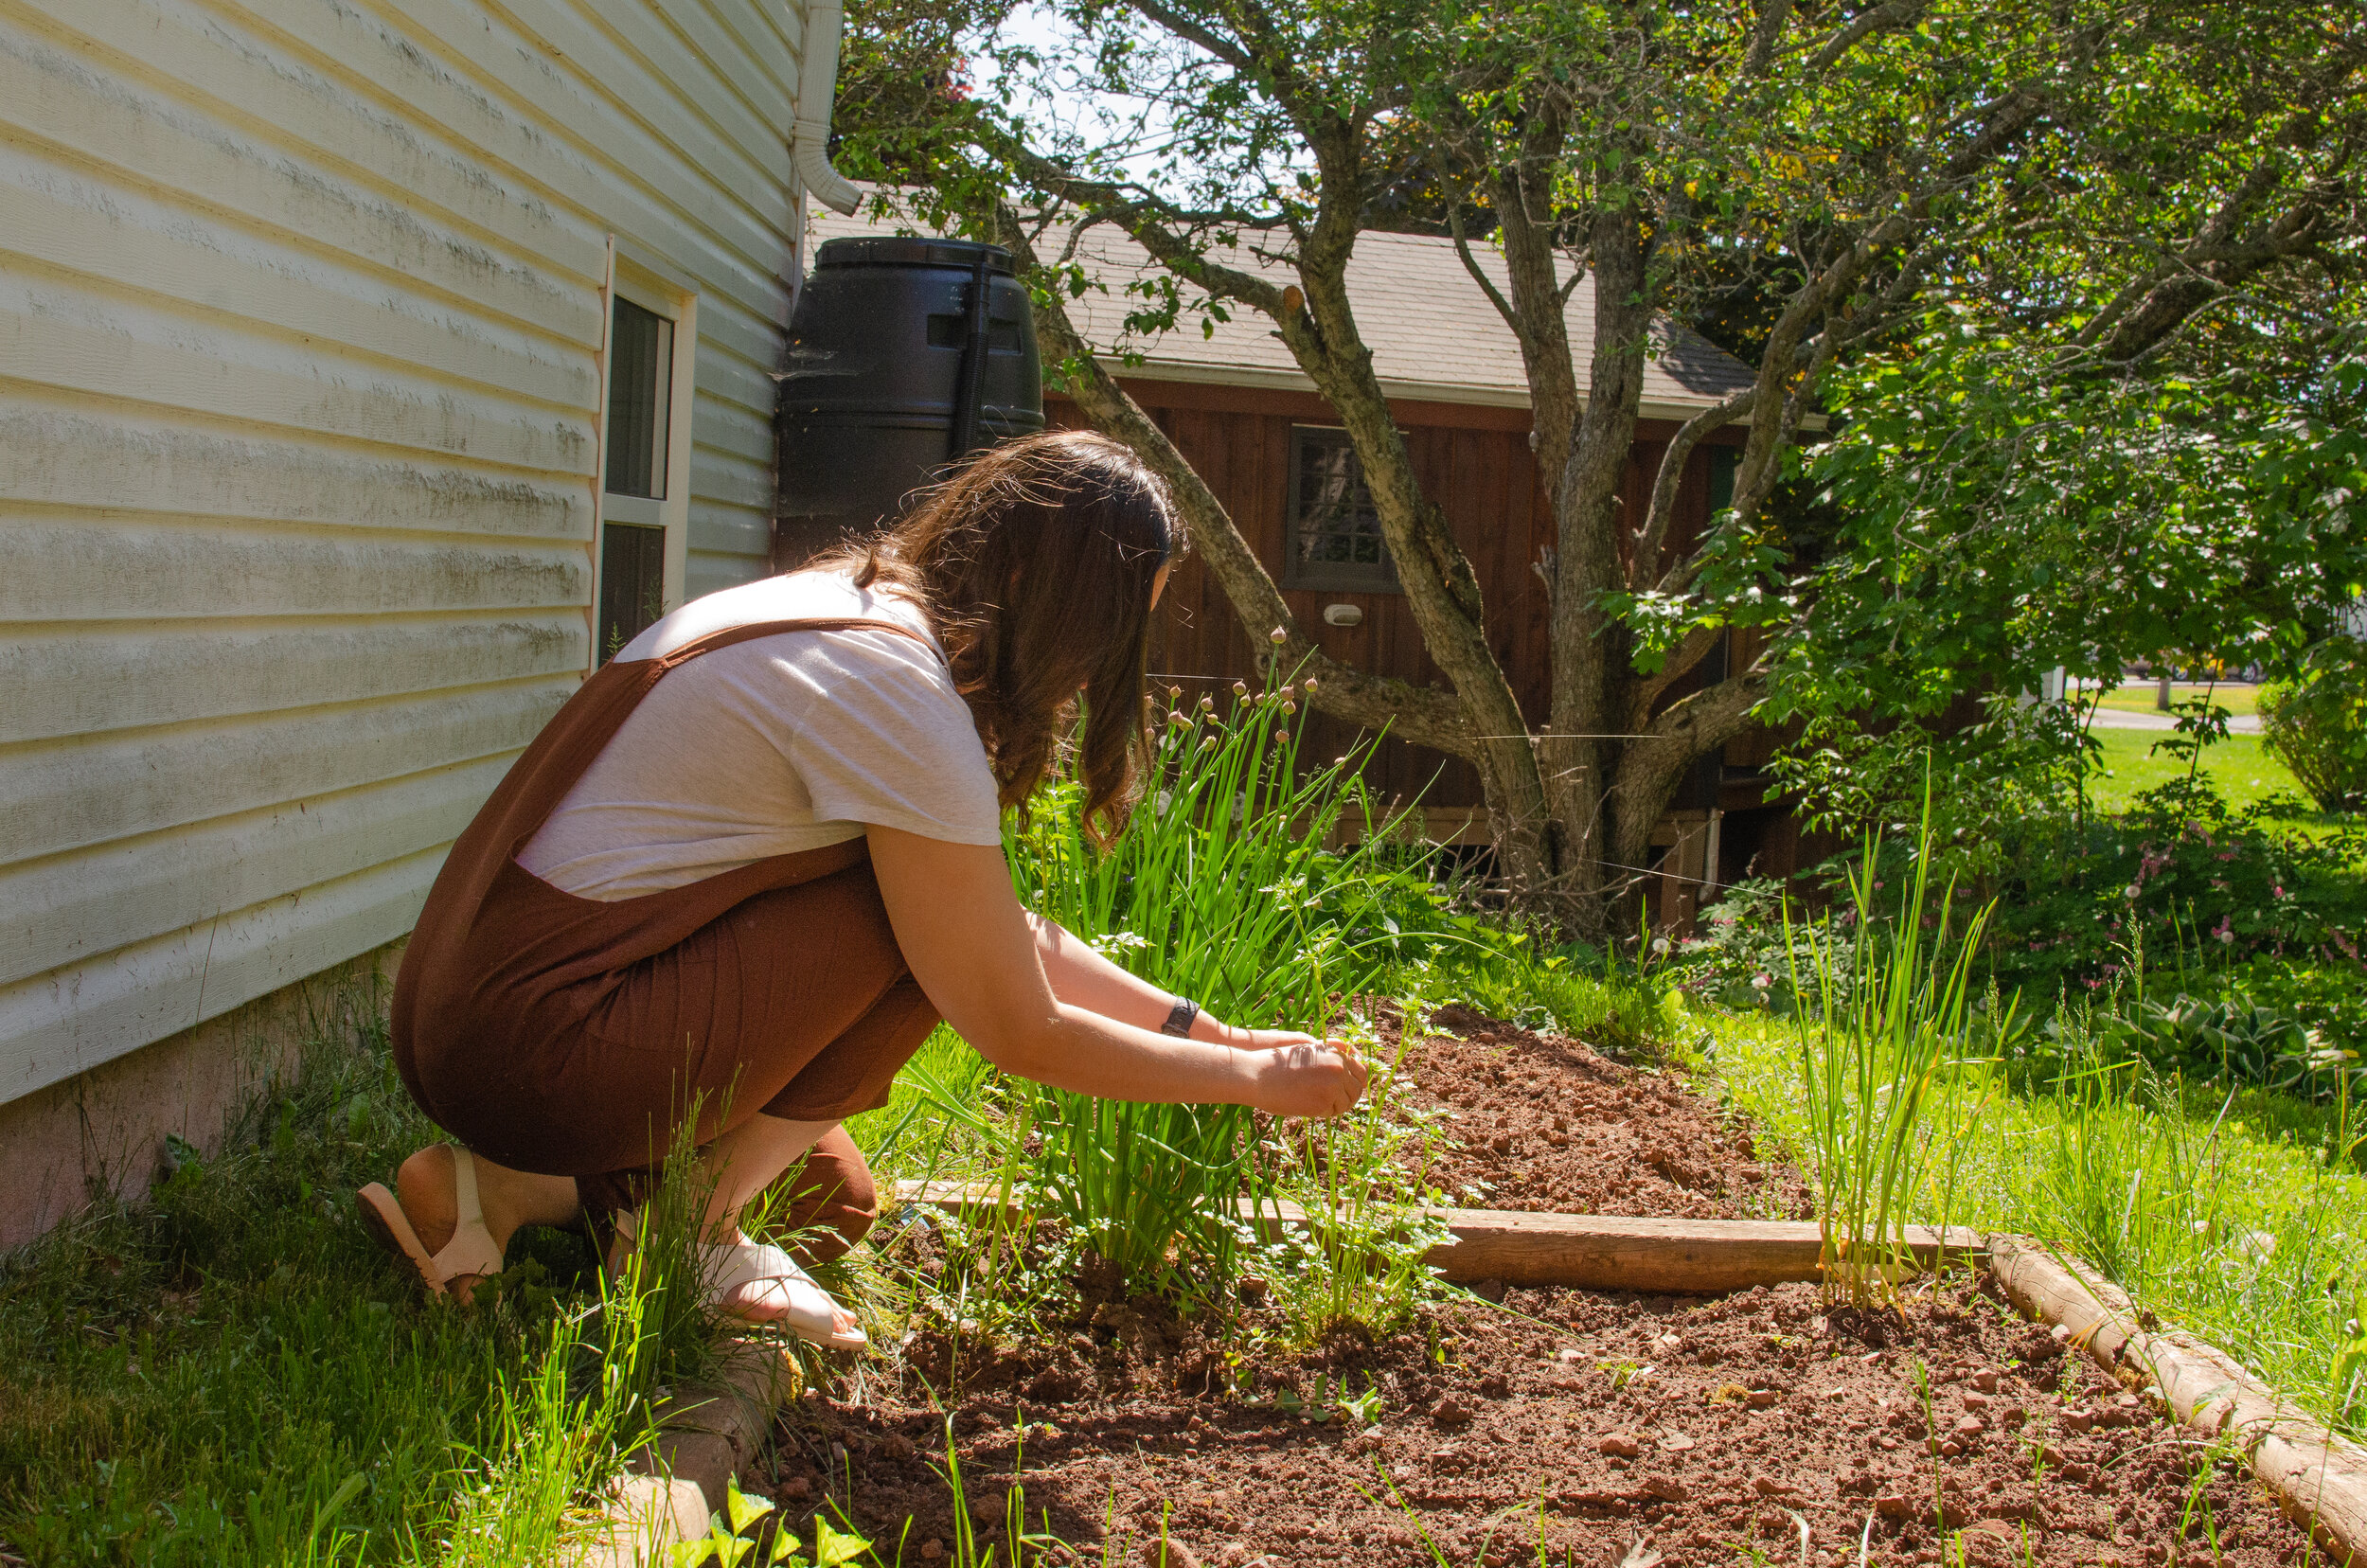
Checking on the garden, you can see our rain barrel is behind me underneath our home’s rain gutter.
Rain Water
To reduce water consumption, we collect rainwater in a rain barrel. This water can be used to wet the soil down as needed as well as provide extra moisture to our surrounding yard. Check with your area to see if they offer an incentive for putting one on your property. Municipalities like rain barrels because they can take pressure off city water systems, and you will like them for the sake of your water bill. Here in PEI, we are offered a discounted rate to encourage homeowners to integrate them into the properties for grass and garden outdoor use.
Compost accelerator
We rarely use the compost accelerator, and we only use it for the tumbler. In our ‘lazy' composting’ style, we don’t really bother with adding more ingredients to the mix. Especially since many compost accelerators come in plastic bags that we are trying to avoid!
When we run the pitchfork through the soil, we mix in a bit of accelerator in with it. It works to get the beneficial bacteria started and kick-starts the decomposition.
Patience
Patience is definitely something you need if you want to get started with composting. It takes time for the earth to do what it needs to build up heat to break down the organic matter. If you have space and the time, I would definitely recommend you try this out for yourself at home. It is a rewarding experience knowing you are handing your own waste in a responsible way and avoid contributing to the mass carbon emissions that are created from organic waste in landfills.
If you are a composting pro and have any tips for this ‘lazy composter’ I would so appreciate you sharing them with me in the comments below! Similarly, if you have any questions regarding the process don’t hesitate to leave them there too. I appreciate you reading through this post and encourage you to check back for the next one Friday when I will be sharing a step-by-step infographic on how you can get started yourself.
— Claudia

Hey, Claudia here
I am a senior graphic designer, a dog mom, an advocate for a zero-waste lifestyle, climate change, and sustainability. My articles are based on personal experience and well researched to give you the best source of information for all things zero-waste.